Getting Started with Blogging
How to Start Your First Blog
Blogging first started as a way to have an online personal weblog, in which a person would journal about their day. From "weblog" came the term "blog." Like most new innovations on the Internet, many entrepreneurs saw a marketing potential in having a blog, and blogging took off from there.
Different Kinds of Blogs are:
- 1. Personal Blogs. When blogging began in the late ’90s, the first type of blogger appeared was the online diary bloggers. These were people who ...

- 2. Business Blogs.

- 3. Professional Blogs.

- 4. Niche blogs.

How Do I Start Blogging?
Want to get started right away? Dive in with my Step-By-Step Guide: you’ll set up a blog and publish your first post today.
1.Create your Gmail Account
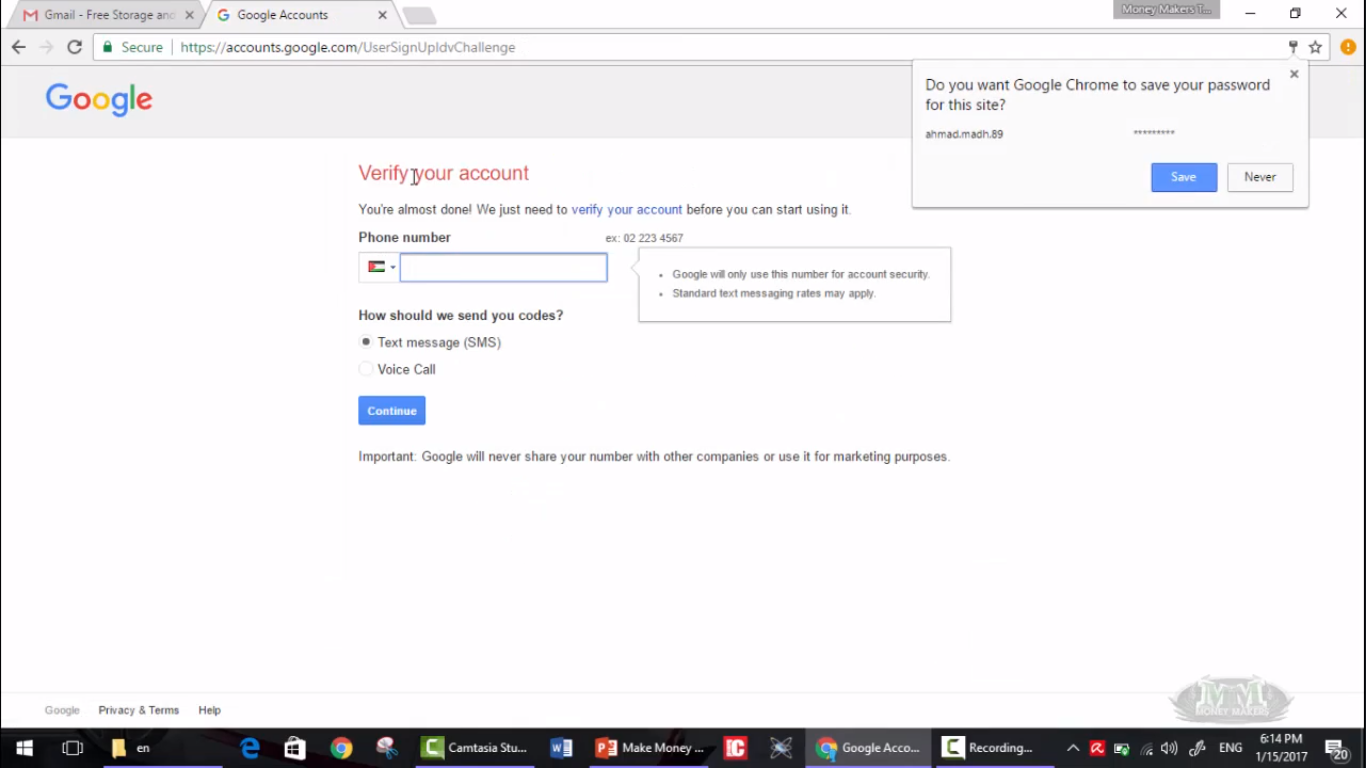
You must have a Gmail account before getting started with Blogging. If you have your Gmail account ready then skip step 1 and move forward to step 2 and if you don't have a Gmail Account follow these steps:
- Go to Google and type www.gmail.com, and click on Create an account

- Set up your account by filling up your details

- Verify your information by giving otp and your account will be created for free
- Sign in to your account

- This is how the dashboard will look for your Gmail account

2. Create your Blogger Account
- Go to www.Blogger.com

- Click on Create your account

- This is the Blogger page, Click on Create your Blog


- Give your Profile Name and Title for your First blog


- Give the title, Domain Name for your Blog, Domain Name should be Unique

- Create your First Blog here and Publish. Great! your First ever Blog is Ready!

3. Get a paid domain for better looks and increase your page rank
Go to GoDaddy.com and get the Domain on your name

Link Godaddy Domain with Blogger
Mapping Your Domain Name to Work with Blogger
You can establish a more professional identity for your Blogger® blog by configuring it to point to one of the domain names you registered through us. Instead of entering your Blogger URL to view your latest blog post, visitors enter your domain name's URL. For example, by mapping your coolexample.blogspot.com blog to your www.coolexample.com domain name, visitors focus solely on your domain name.
To point your Blogger blog to your domain name, you set up domain name mapping, which configures your blog settings and domain name. You update your settings in your Blogger account and our DNS Zone File:
- Park the domain name you want to use with your Blogger account on our parked nameservers. For more information, see Park a domain.
- Edit the www CNAME record for the domain name you want to use with your Blogger account. This update tells the Web browser to open your Blogger blog when visitors enter your domain name's URL in the browser address bar.
- Next, you'll need to create separate A records for each of the IPs listed in step 9 of this Google help article. For instructions on configuring separate A records, please visit Manage DNS under the segment ###b. Each of the records should have the host @
- Using instructions from the same ###a href="https://support.google.com/blogger/troubleshooter/1233381?hl=en#ts=1734115">help article listed above, configure your Blogger account to use your domain name.
To Edit Your CNAME Record
- Log in to your GoDaddy account.
- Next to Domains, click Manage.
- Click the domain you want to use, and then select the DNS Zone File tab.
- Click the www record.
- In the Points To field, type ghs.google.com.
- Click Save, and then click Save Changes.
To Configure Your Blogger Account
- Log in to your Blogger account.
- From the Settings tab, select Basic.
- Under your Blog Address, click + Setup a 3rd party URL for your blog.
- In the field next to http://, enter the domain name you want to use.
- Complete any other CNAME entries for verification, if applicable.
- Click Save.
******************************************** END ***********************************************
Completed Make A Professional Website For Free With No Coding


Comments
Post a Comment